Recording your own music used to be a difficult and expensive process, involving complex equipment and studio time. But thanks to advances in technology, anyone can now record high-quality music at home using nothing more than a computer and some software.
Here are a few tips on how to get started:
Hardware
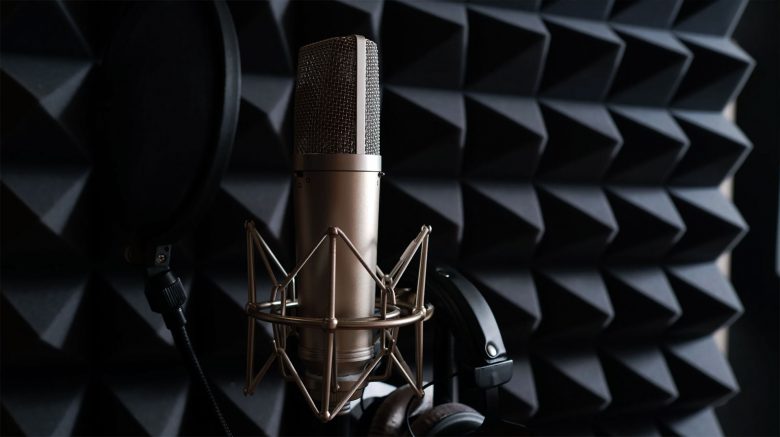
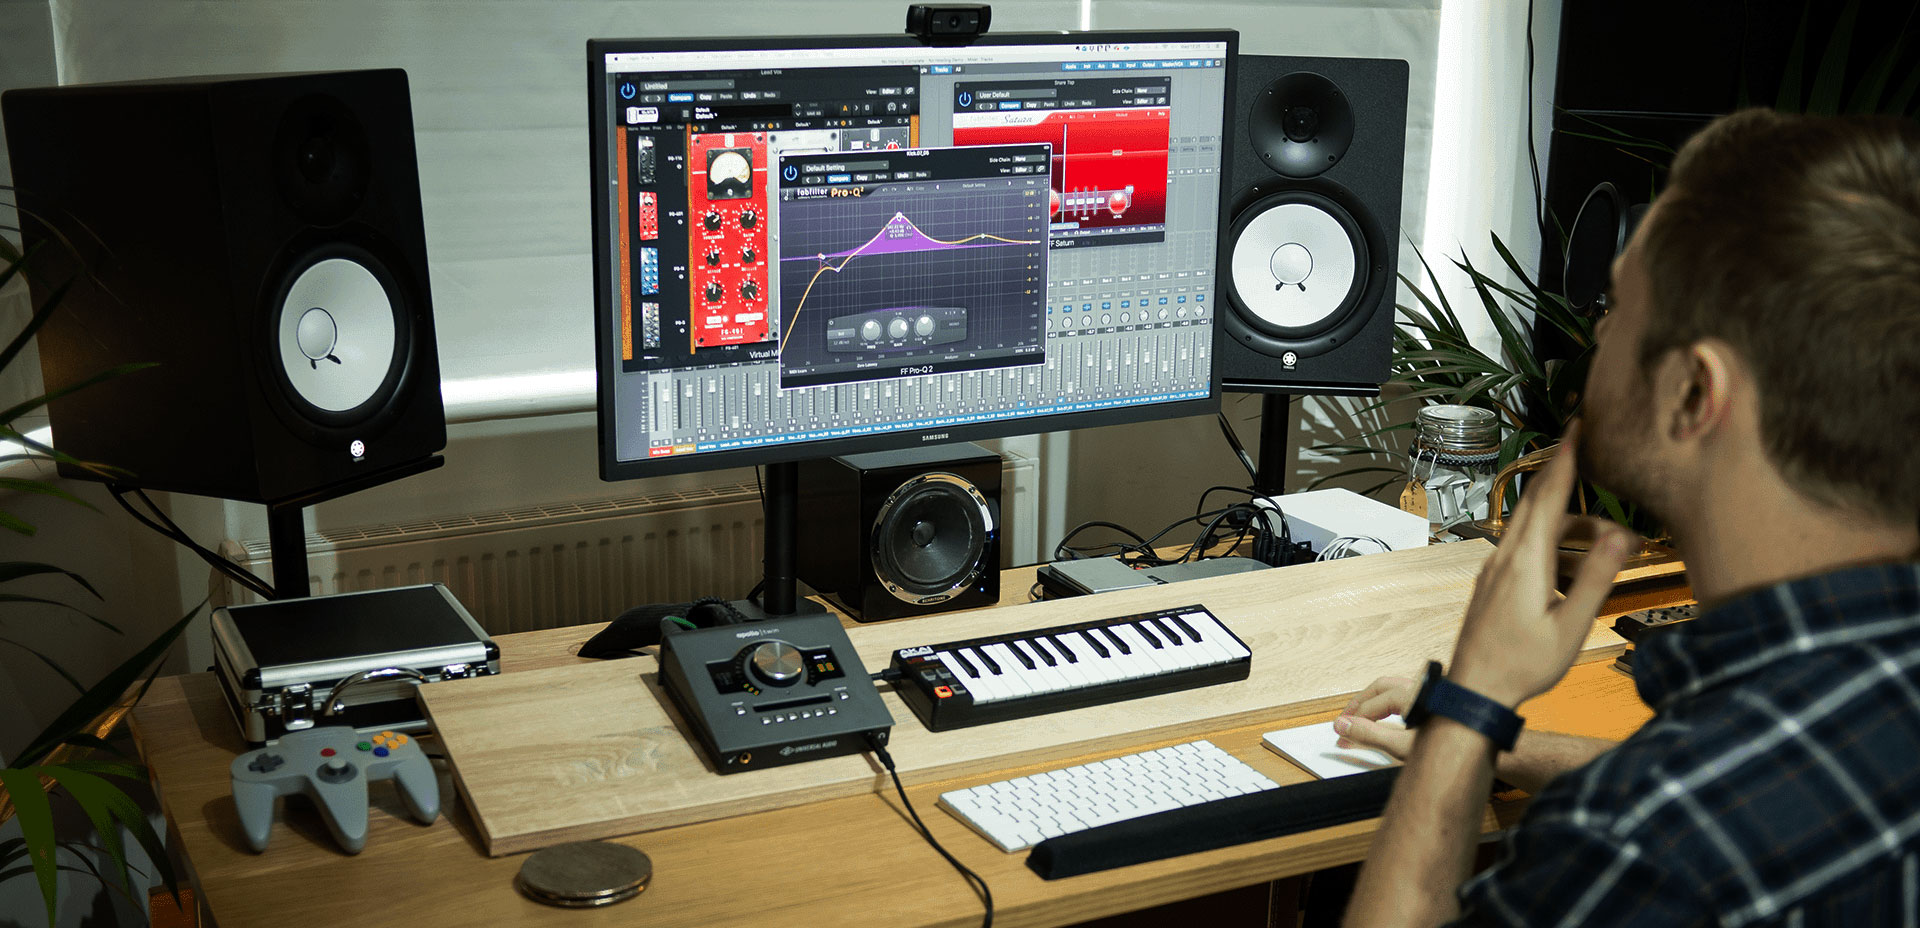
Invest in good quality equipment. While you don’t need to spend thousands of dollars on the latest and greatest gear, it’s important to invest in some decent equipment. At a minimum, you’ll need a good quality microphone and an audio interface (this is what you’ll use to connect your microphone to your computer).
Software
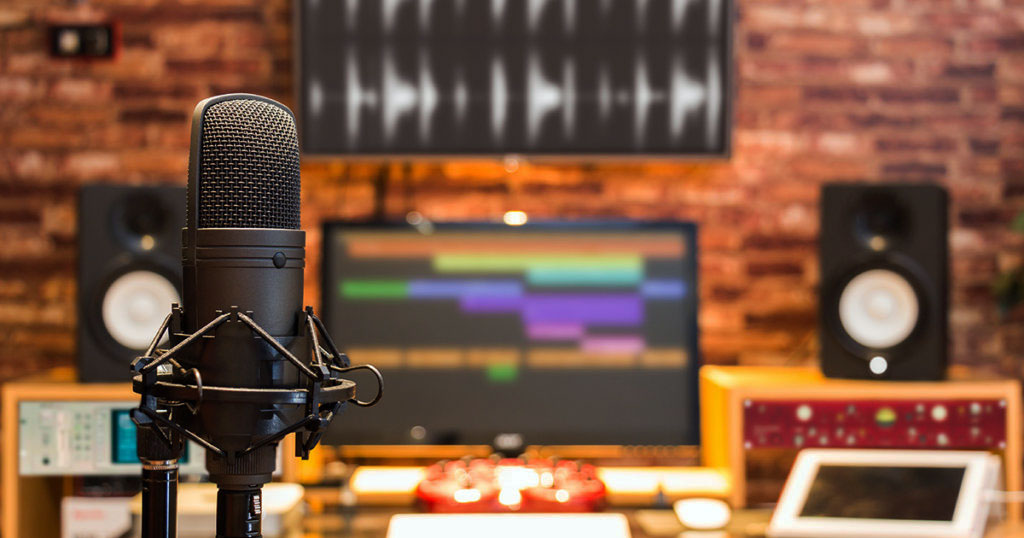
There are a number of different software programs you can use to record your music. Some are free, while others must be purchased. Audacity is a popular free program that works well for recording music.
If you’re serious about making music, you may want to consider purchasing a more sophisticated program like Pro Tools or Logic. These programs offer a wider range of features and options, which can be helpful if you’re planning on doing a lot of recording.
VST plugins
If you’re using a digital audio workstation (DAW) to record your music, then you can also take advantage of virtual studio technology (VST) plugins. These are software programs that mimic the sound of real instruments or effects pedals, and they can be used to add depth and character to your recordings. There are many pianos, guitar, and bass synthesizer vst plugins available, as well as plugins that simulate classic effects pedals like reverb, delay, and chorus.
You can find a wide variety of free and paid VST plugins online. Do some research to find the ones that will work best for the style of music you’re trying to record.
Setting up
Once you have your hardware and software sorted out, it’s time to set up your recording space. This doesn’t need to be anything fancy – a simple room with good acoustics will do. Just make sure there’s minimal background noise, as this can interfere with your recording.
Recording
Now it’s time to start recording! Begin by setting up your microphone and audio interface, then launch your chosen software program. Follow the prompts to start recording – you may need to adjust some settings, such as the input level, to get a good recording.
Once you’re happy with your recording, you can export it as an MP3 or WAV file and share it with the world!

